
 Mail Chimp is a full featured mailing list service that helps you stay in contact with your readers or customers. It provides lots of tools for analyzing how your message is reaching folks and you can design beautiful email templates that match your brand. With all those options it can be a bit daunting to get started, but worth the effort.
People have asked me about collecting email addresses from their WordPress website for mailing campaigns and there are a lot of ways to do this. If you just want to notify people of a new post then there are simple plugins, like subscribe2, that allow you to create a widget for readers to subscribe to your blog. If you want to send them other messages and want some statistics on how often those messages are read and links within them are clicked then you need something like Mail Chimp.
This article describes several work flows using MailChimp.
How
How do we go about collecting email addresses to send them to MailChimp? First you need an account with MailChimp. It’s free to get started and many people never need to purchase services. Next get the MailChimp for WordPress plugin, install and activate it.
When
When do you collect someone’s email address? There are three logical times to do that:
- if they become members of your website community
- if they leave comments (and you require email address to do so)
- or if they just want notifications when a new post happens.
The MailChimp plugin provides options for all of those.
Getting Started with MailChimp
Login to your MailChimp account. (Or create an account).
First you’ll want to create a list. You’ll need that list created when you set up the WordPress widgets and integrations. Just a list name, the return address and a short blurb about when the member signed up for the list (from your website) is all you’ll need to create the initial list.
Second you’ll need a MailChimp API key. From the top menu where your account name is select Account. From the Extras menu select API Keys. You’ll need to Create a Key, then copy it.
Configuring the Plugin
In your WordPress dashboard you’ll see “MailChimp for WP” in the sidebar. Select the “MailChimp” item and paste in the API key.
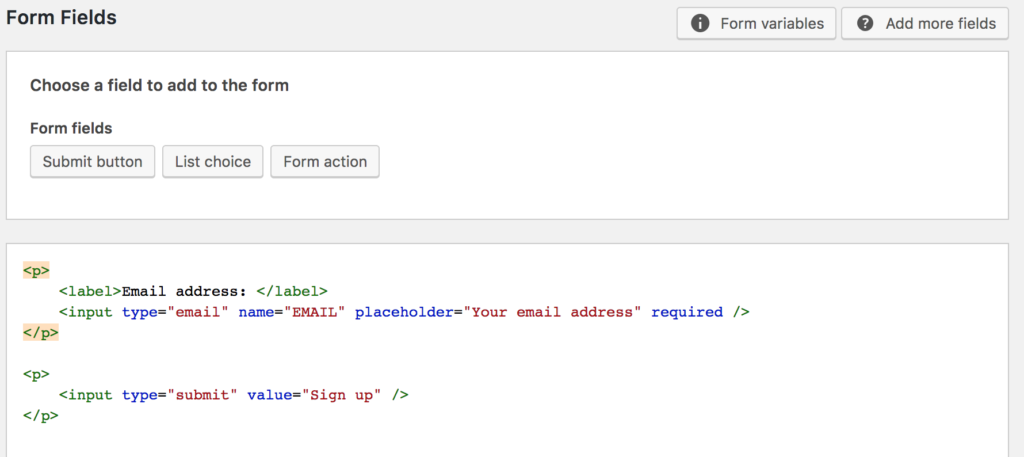
Next you need to create the form for collecting the email address. This was a surprise to me, but this step needs to be done before you can set up the collection widget. By default MailChimp lists collect email address, first and last name fields. You can add additional fields to collect other demographics, but that is beyond the scope of this article.
Select the Form link under “MailChimp for WP”. Click on “Add new form”. You’ll now have a basic form set up. This form just contains an email address field. There’s a lot of configuring you can do here. You can set up custom messages and link to a custom thank you page. The form will be displayed in raw HTML. Unless you really need to play with the structure of the form I’d suggest just leaving it as is.
Methods of gathering your list members
Adding a new Member to your list
You’ll do this with a Mail Chimp integration. Under the MailChimp for WP plugin, select “Integrations”. The free version of this plugin provides “Registration Form” and “Comments Form” as available options. We’ll want the “Registration Form”. Once selected you have a few questions to answer.
- First select “Enabled”.
- The next question “Implict?” means do you automatically sign the member up for the MailChimp list or do you give them a choice for signing up. MailChimp recommends giving them a choice. To do that select “No” here.
- Next select the Mail Chimp list you’ve working with. You probably only have one at this point, so there should just be one checkbox.
- Checkbox label text – Example: “Notify me of new posts”.
- The other useful option here is “Double opt-in?” If selected this sends the member a message to confirm their subscription. Mail Chimp recommends doing this. It cuts down on people reporting your list as spam.
That’s it. You’ll now see an additional box on the registration page.
Collecting an email when someone posts a comment
The Comment Form integration creates a checkbox just like the registration form and the options are the same (See above). This will only be useful if you’re requiring an email address when someone posts a comment. If you require them to have an account with you to post you won’t use this.
A non-member subscribes to your blog
This is the easiest one to set up. In the Widgets dashboard grab the “MailChimp Sign-up Form” widget and put it in any sidebar. Set the title and you’re ready to go.
A few interesting notes
The subscriber will not appear in your MailChimp list until they have confirmed their email address if you’ve set “Double opt-in”. If you are having people added as they become members on your WordPress site and you have an approval/deny process set up please note they will be added to the MailChimp list before you approve or deny them. As far as I know there’s no way to tie those two processes together.
You can find more information about this process in this article from MailChimp.
In my next post …
… I’ll be showing you how to set up MailChimp campaigns to send out a welcome message or a list of new posts.